How to deploy Dashboard Server Community Edition from the AWS Marketplace
What you need
- An account that can deploy applications.
Your Community Edition license activation key. You will receive this by email following your purchase or request for a Community Edition free forever license.
Where to deploy
- The AWS Marketplace deployment will create a Windows EC2 instance with the minimum requirements and lead you through the configuration process.
What we create
- An EC2 instance with IIS, a small data disk, a public IP address, and our web application installed and ready to setup.
- Dashboard Server has a number of prerequisites that will be automatically installed by the setup process (e.g. the IIS Web Server role)
Before you get started
There are various different routes to launching a new instance, and there are some key tasks to complete. These tasks appear at different stages in the different launch methods, and are described here for you to read before starting:
You need to add HTTPS port 443 to the Security Group you use with the instance. If this isn't shown as a stage during the launch you can add it afterwards from the instance summary Security > Security Groups. Click on the security group name > Edit inbound rules > Add rule for HTTPS.
See AWS - Add rules to a security group
This option automatically adds the 0.0.0.0/0 IPv4 CIDR block as the source. This is only acceptable for a short time in a test environment, but it is not safe in production environments where you should authorize only a specific IP address or range of addresses to access your instances.

You will be asked to create, name and download a new key pair. This is a file which can be used to securely access your instance instead of a DNS name and password. This option may be shown after clicking Launch. If given the option, you should choose .pem file.
See AWS - Key Pairs
AWS Marketplace
Register and we will email you a free forever license to get you started: Dashboard Server free license Browse to the AWS Marketplace and search for 'Dashboard Server Community Edition'.
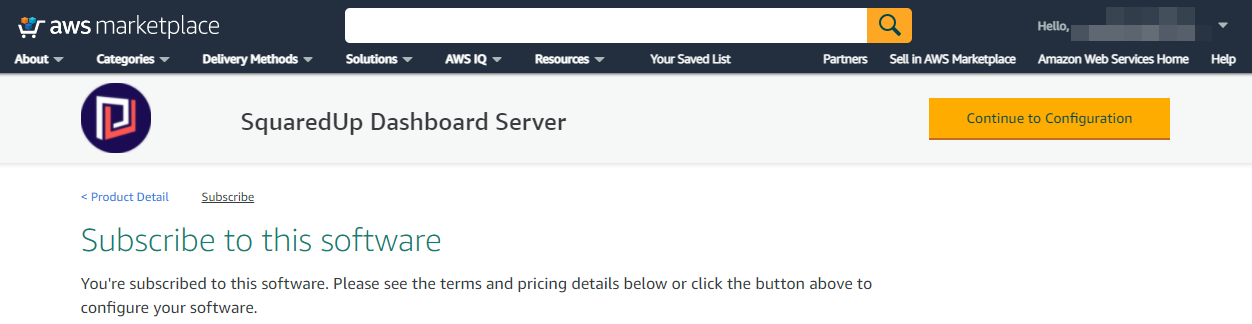
Click on Continue to Subscribe then continue to log in and subscribe (unless someone in your organization has already done so).
You will need to launch a new instance using the Dashboard Server Community Edition AMI. There are various different routes to launching a new instance. The steps below take you through the process of launching an instance by clicking Continue to Configuration.
You can also launch a new instance from the AWS Marketplace by clicking View Subscription > Launch new instance, or from the AWS management console you can click Launch a virtual machine and then search for and choose Dashboard Server Community Edition from the AWS Marketplace category. (Using these methods the Create New Key Pair option appears after the final Launch button is clicked.)
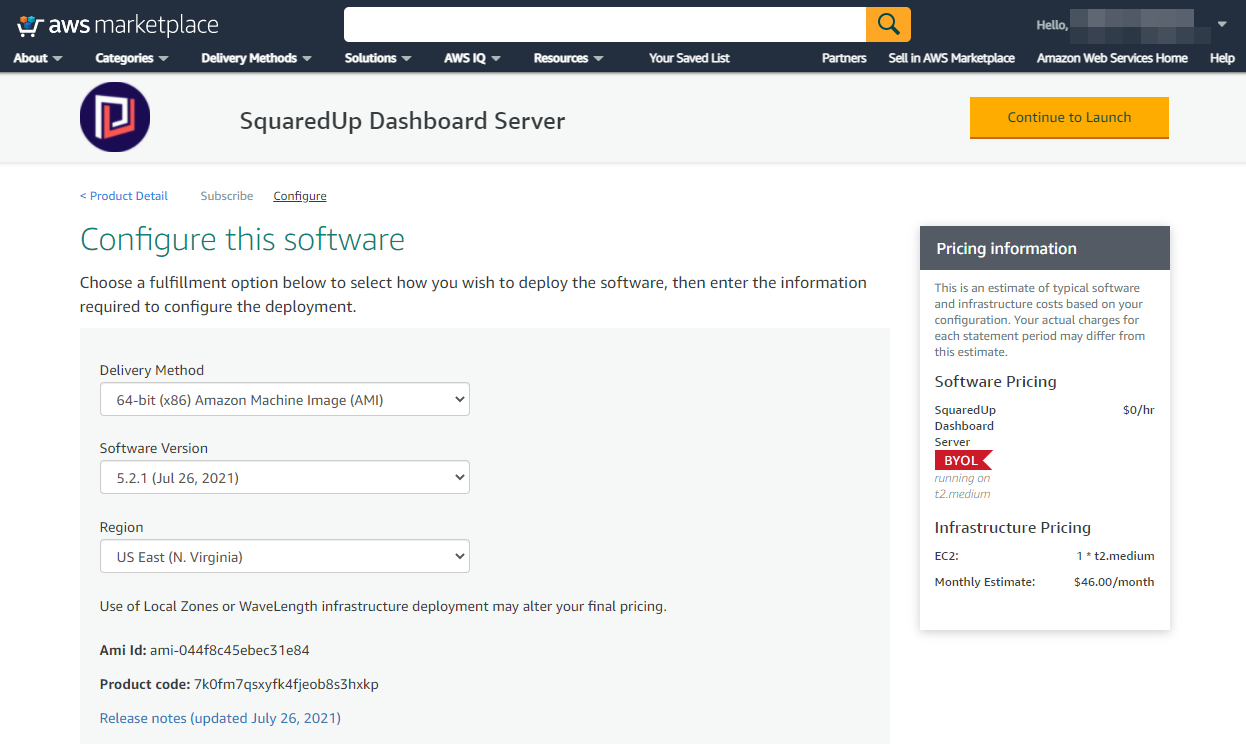
Click Continue to Configuration
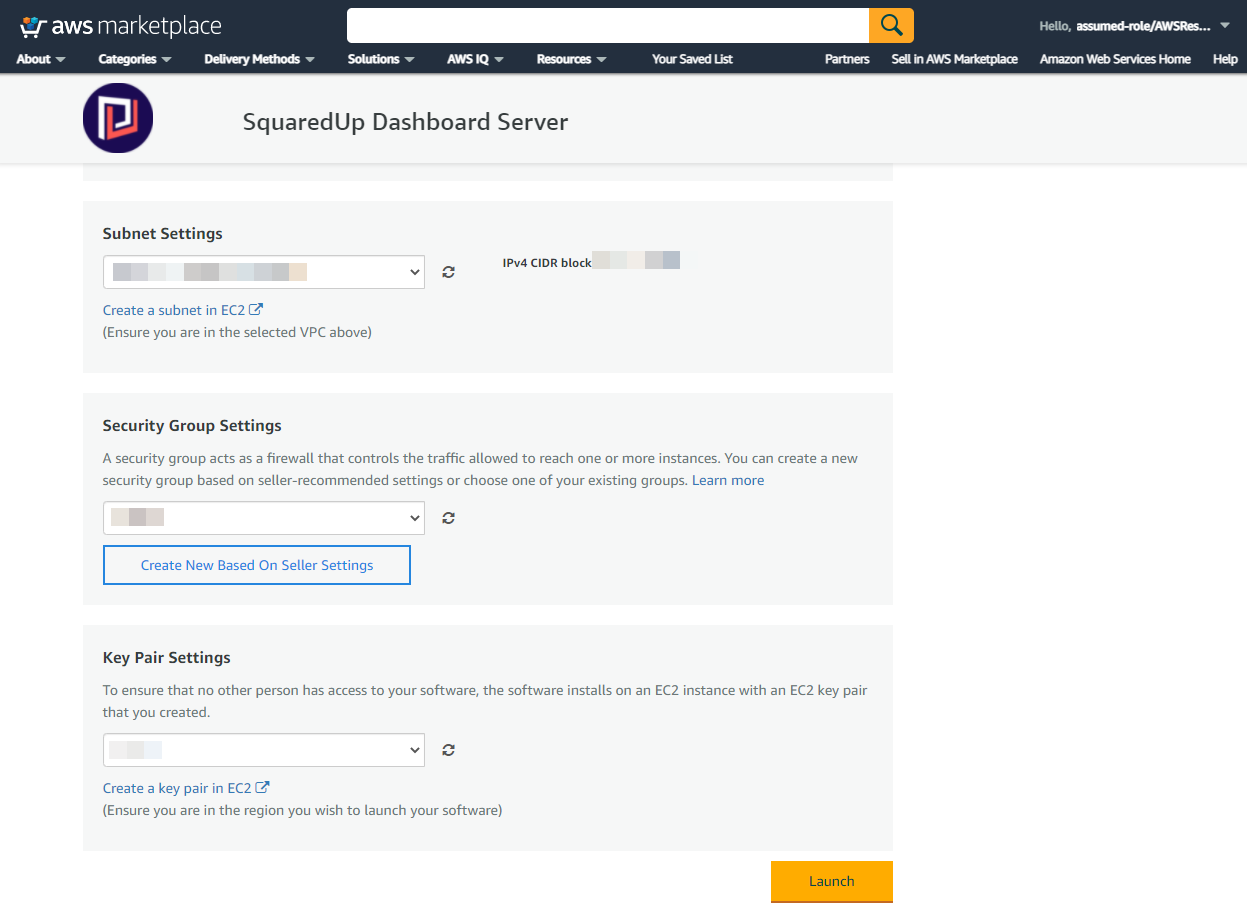
Check the deployment configuration and then click Continue to Launch.
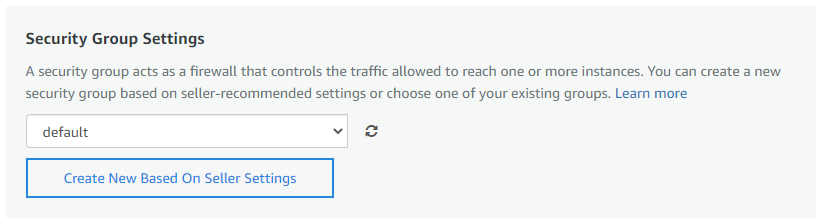
In the Security Group Settings section you will need to select a Security Group. You can select an existing group or create a new group. Following the launch of this instance we will edit the security group you've chosen to add HTTPS.
In the Key Pair Settings section you should click Create a key pair in EC2
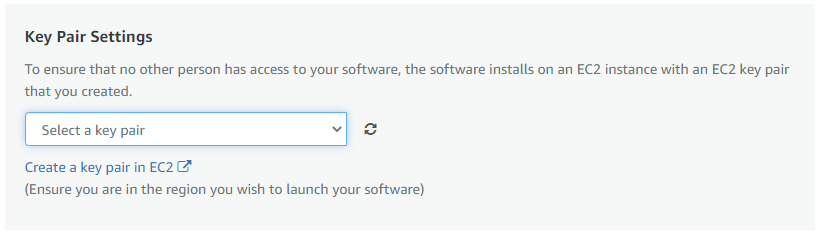
In the new tab that is opened click Create key pair.
Give the Key pair a name and change the Private key file format to .pem.
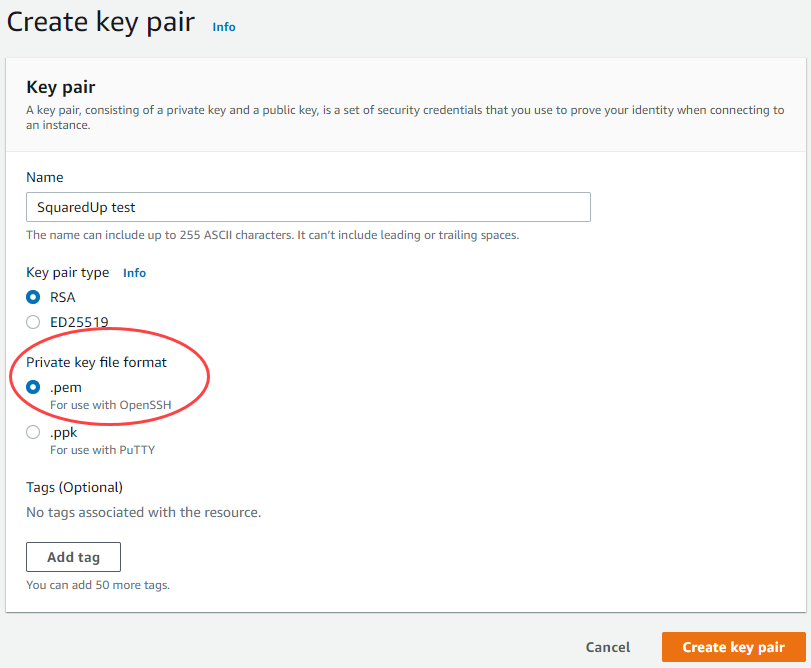
Click Create key pair.
Go back to the original tab, click the refresh button next to the key pair dropdown list and your newly created key pair should be shown for you to select.
Click Launch.
View the instance in the EC2 Console by clicking the link.

The Status check will show that it is initializing, this will take about 5 minutes. Once the Status check says checks passed then the instance is ready to use.

Click on the Instance ID to view the instance summary.
Click on Security tab to view the Security Group you chose for the instance to use.
Click on the Security group and ensure that HTTPS is added as an Inbound rule if it is not already.
 Ensure HTTPS is added to the Security Group
You need to add HTTPS port 443 to the Security Group you use with the instance. If this isn't shown as a stage during the launch you can add it afterwards from the instance summary Security > Security Groups. Click on the security group name > Edit inbound rules > Add rule for HTTPS.
See AWS - Add rules to a security group
This option automatically adds the 0.0.0.0/0 IPv4 CIDR block as the source. This is only acceptable for a short time in a test environment, but it is not safe in production environments where you should authorize only a specific IP address or range of addresses to access your instances.
Continue to the next section to open Dashboard Server.
Get the administrator password and open Dashboard Server
Open the Amazon EC2 console at https://console.aws.amazon.com/ec2/
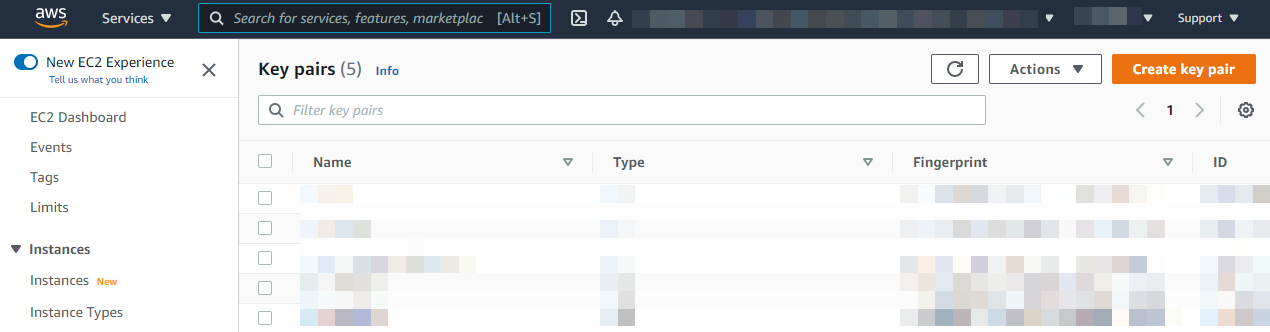
In the navigation pane, select Instances or search for 'instances'.
Click on the Instance ID to view the instance summary.
If you have not already done so you will need to add the HTTPS port from Security > Security Groups. Click on the security group > Edit inbound rules > Add rule for HTTPS
Click Connect.
On the Connect to instance page, click RDP client and then Get password.
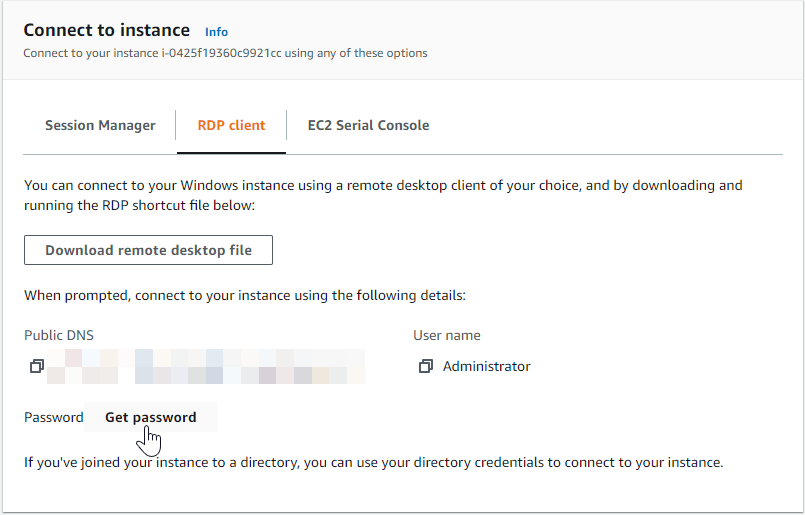
Click Browse and navigate to the private key file you created when you launched the instance. Select the file and click Open to copy the entire contents of the file to this page.
Click Decrypt Password. The console displays the default administrator password for the instance in Password, replacing the Get password link shown previously. Save the password in a safe place. You need this password to connect to the instance.
Go back to the Instance summary view. Select Open Address under the Public IPv4 DNS (not Public IPv4 address).
If you are using a self-signed SSL certificate so you will see a browser warning and will need to explicitly agree to proceed. In Chrome this is done by clicking Advanced.
Follow the next section to log in to Dashboard Server as administrator, using the decrypted password, and follow the setup wizard.
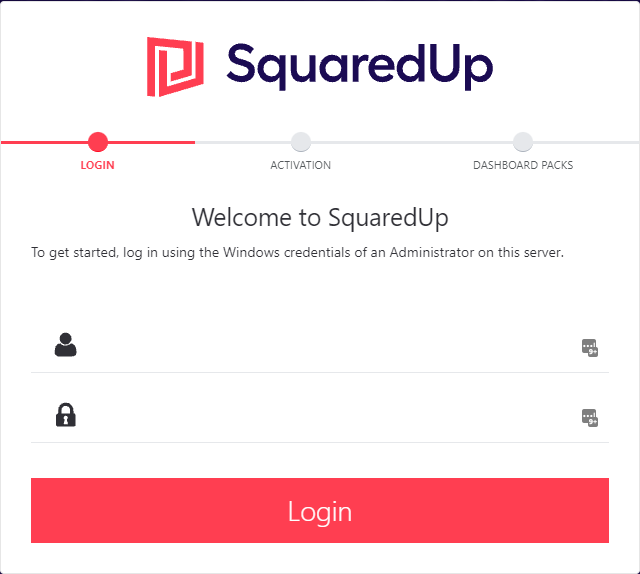
Login to Dashboard Server and run the setup wizard
Complete the Dashboard Server setup wizard to finish the final configuration of your environment, which includes activating your license.
Log in to Dashboard Server as a
n administrator user.If you deployed Dashboard Server via the AWS Marketplace, log in to Dashboard Server as administrator and the password you decrypted from the AWS console.
You will have received your activation key by email following your request for your Dashboard Server free forever license. Paste this key in now, and click Activate. If you have not received a license key please contact SquaredUp Support.
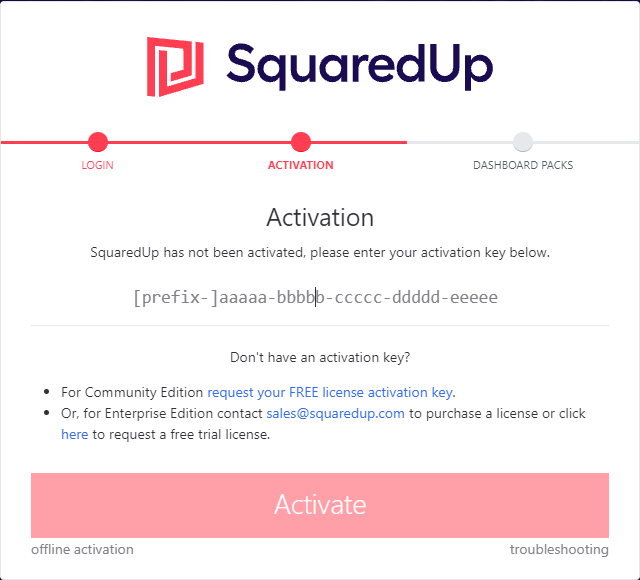
If your server is not connected to the internet (or the online activation didn't work because of proxy settings) click offline activation (see How to activate your license offline (manual activation))
If you have any problems activating see Troubleshooting licensing and activation or contact SquaredUp Support.
Click Import to install a set of pre-built dashboards to help you get started using Dashboard Server.
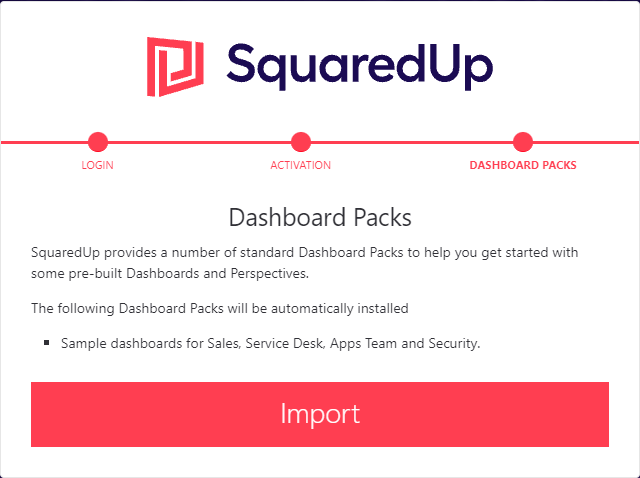
Setup is now complete and the Getting Started page will be displayed.
Next steps
- Take a look at the Dashboard Server Getting Started playlist on YouTube.
- Invite users to view a Dashboard Server dashboard: How to share a dashboard
- Manage which users can access Dashboard Server: How to manage Named Users
- Set up a Dashboard Server administrator(s). To manage Dashboard Server you will need to be a Dashboard Server administrator, see How to make a user a Dashboard Server Community Edition administrator
- Give dashboard authors permission to create dashboards. A Dashboard Server administrator will need to give users or groups author permission to a Team Folder, within which they can create and edit dashboards. See Team Folders
- Get access to your API data: How to add a Web API provider
- Configure Open Access dashboards. Open Access enables easy sharing of dashboards, that do not require authentication to view. See Sharing Dashboards with anyone - Open Access
- Create your first dashboard: How to create a dashboard
Troubleshooting Dashboard Server deployment
Submit a request
If configuration fails, a large volume of diagnostic text will be produced, followed by a red failure message. If you experience this, please submit a request and we can help diagnose the cause.
Note that the diagnostic text may reveal sensitive details - such as your username, installed AD applications and IDs. Please be conscious of this when sending us details - for example, it is not appropriate to send us this text over email.